

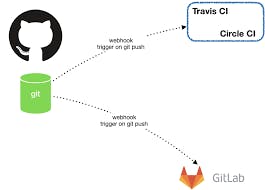
What is Github webhook and what is used?
GitHub webhook is a feature that allows you to configure and automate events that occur in your GitHub repositories. A webhook is essentially an HTTP callback that occurs when something specific happens in your repository, such as a new commit, a new pull request, or a new issue.
When you set up a webhook, GitHub will send an HTTP POST payload to the specified URL whenever the event you are interested in occurs. This payload will contain information about the event, such as the commit message or the pull request details.
The main use of GitHub webhook is to automate workflows that require immediate or near-real-time responses to changes in your repositories. For example, you can use webhooks to trigger continuous integration (CI) pipelines, deploy code to production, or update an external system with the latest repository changes.
Webhooks can also be used to integrate GitHub with other services, such as Slack, Jira, or Trello. For instance, you can set up a webhook that sends a message to a Slack channel whenever a new issue is created in your repository. This way, your team can stay up-to-date with the latest changes and collaborate more efficiently.
Jenkins pipeline – declarative vs scripted pipelines
Jenkins Pipeline is a powerful tool that allows users to create continuous integration and delivery workflows in code. There are two types of pipelines in Jenkins: Declarative and Scripted.
Declarative Pipeline is a simpler and more structured way of defining pipelines. It uses a set of predefined syntax to define stages, steps, and post-actions. It follows a specific syntax for defining pipelines and is designed to be easier to read and understand. Declarative Pipeline is recommended for most use cases as it provides a simple and easy-to-understand syntax that is well suited for most CI/CD workflows.
Scripted Pipeline, on the other hand, is a more flexible way of defining pipelines. It uses Groovy, a powerful scripting language, to define pipelines. It provides complete control over the pipeline flow and allows users to use any Jenkins plugins or APIs to implement custom logic. Scripted Pipeline is recommended for more complex workflows that require advanced customization and control over the pipeline flow.
In summary, if you are looking for a simple and structured way of defining pipelines, then Declarative Pipeline is the way to go. However, if you require advanced customization and control over the pipeline flow, then Scripted Pipeline is the better option.
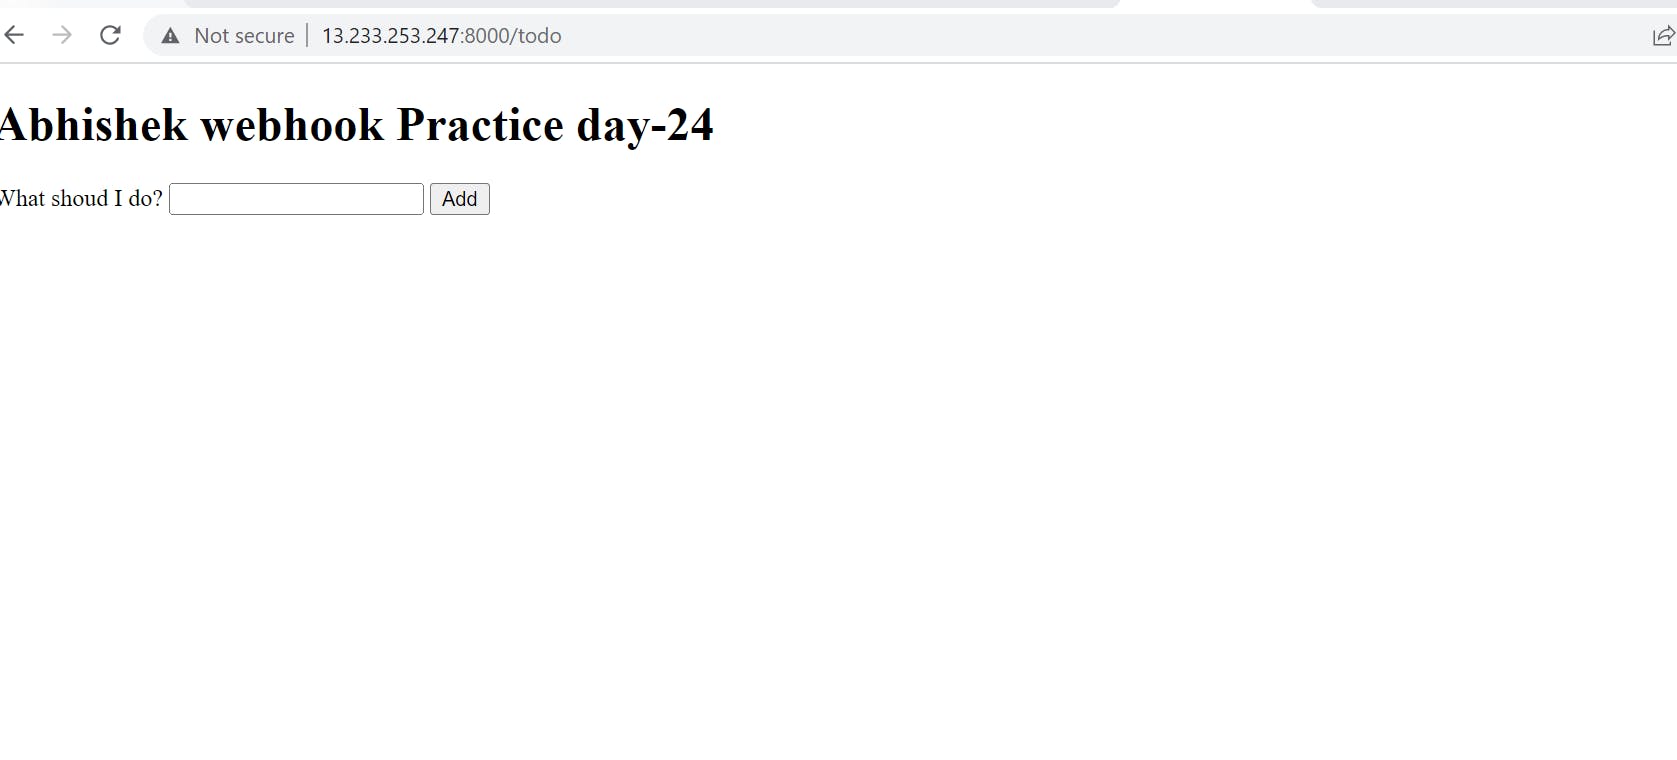
We are going to set up a pipeline for a Django application.
Create a new item and choose a free-style project.
In the General setting provide the project description.
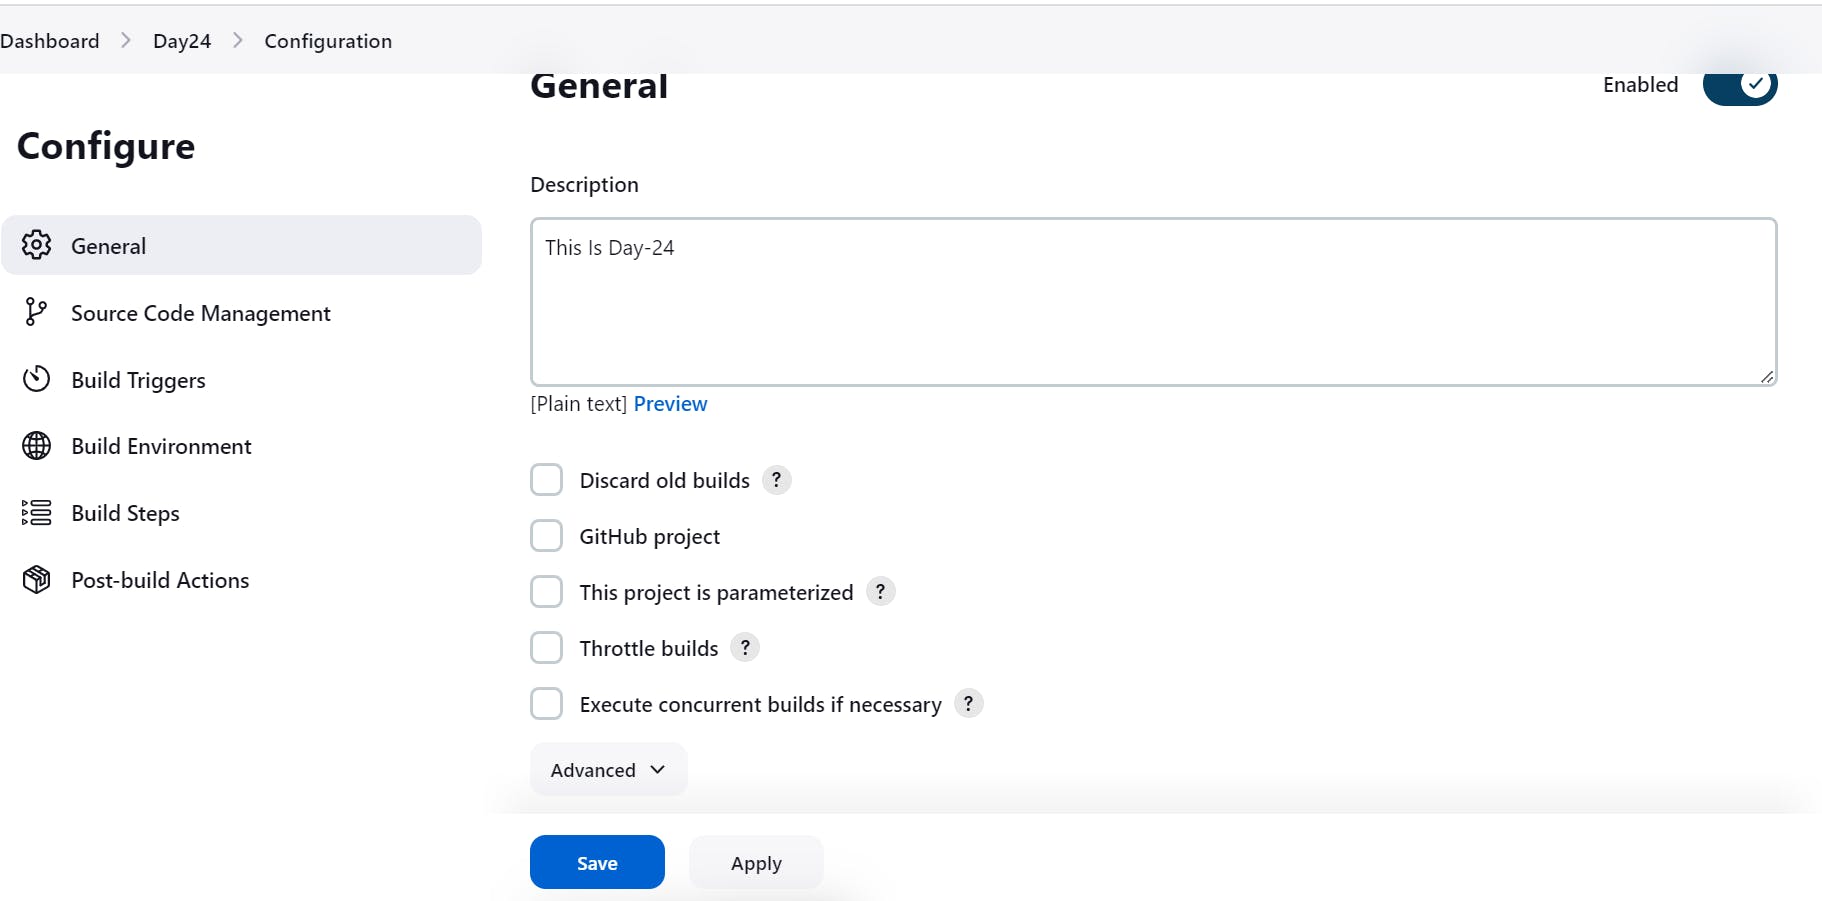
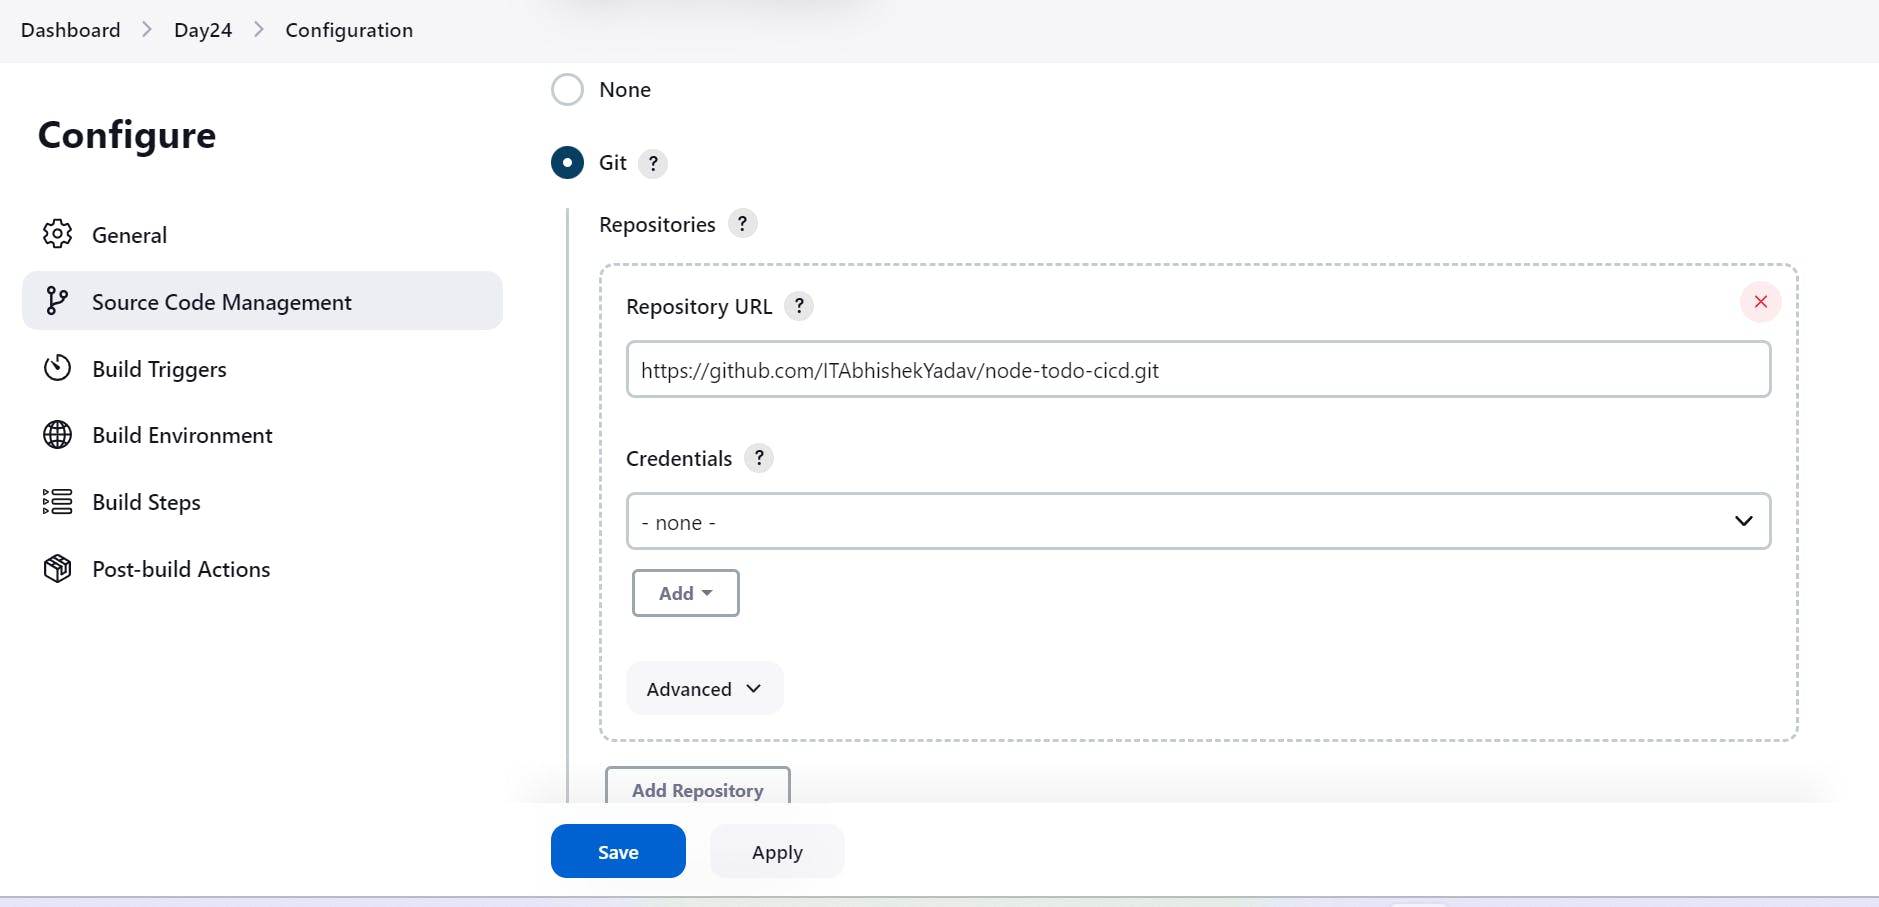
Now, go to Source code management to configure GitHub to Jenkins. Provide the GitHub URL where the code exists. Use the secret text option to provide credentials to Jenkins.
4 .Now, go to Build Steps and choose the execute shell build option.
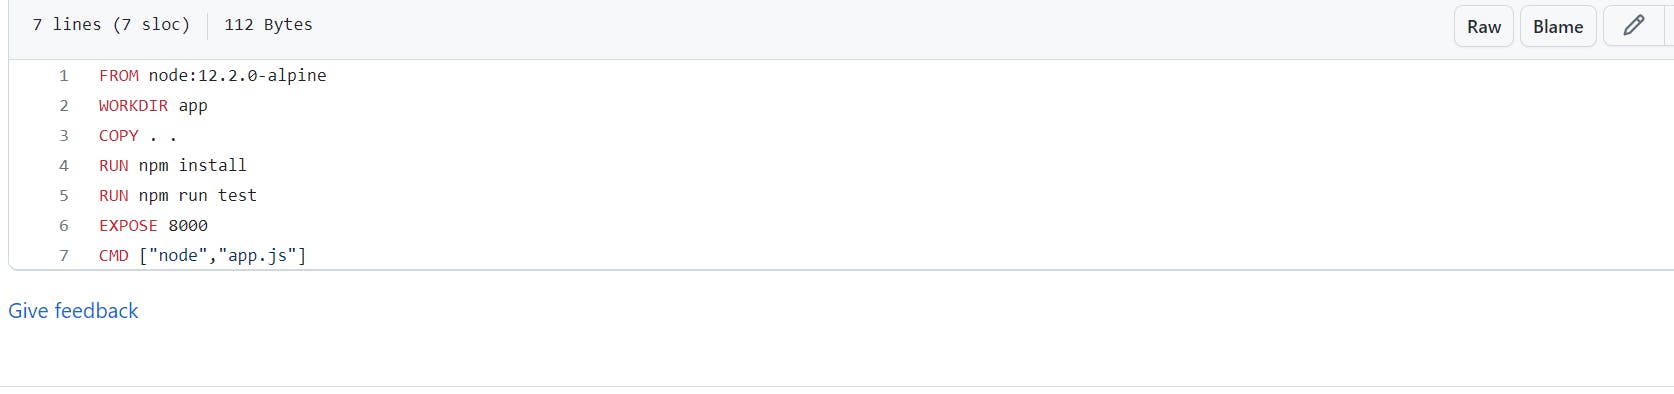
Guess, you have already written the docker file to containerize the application.
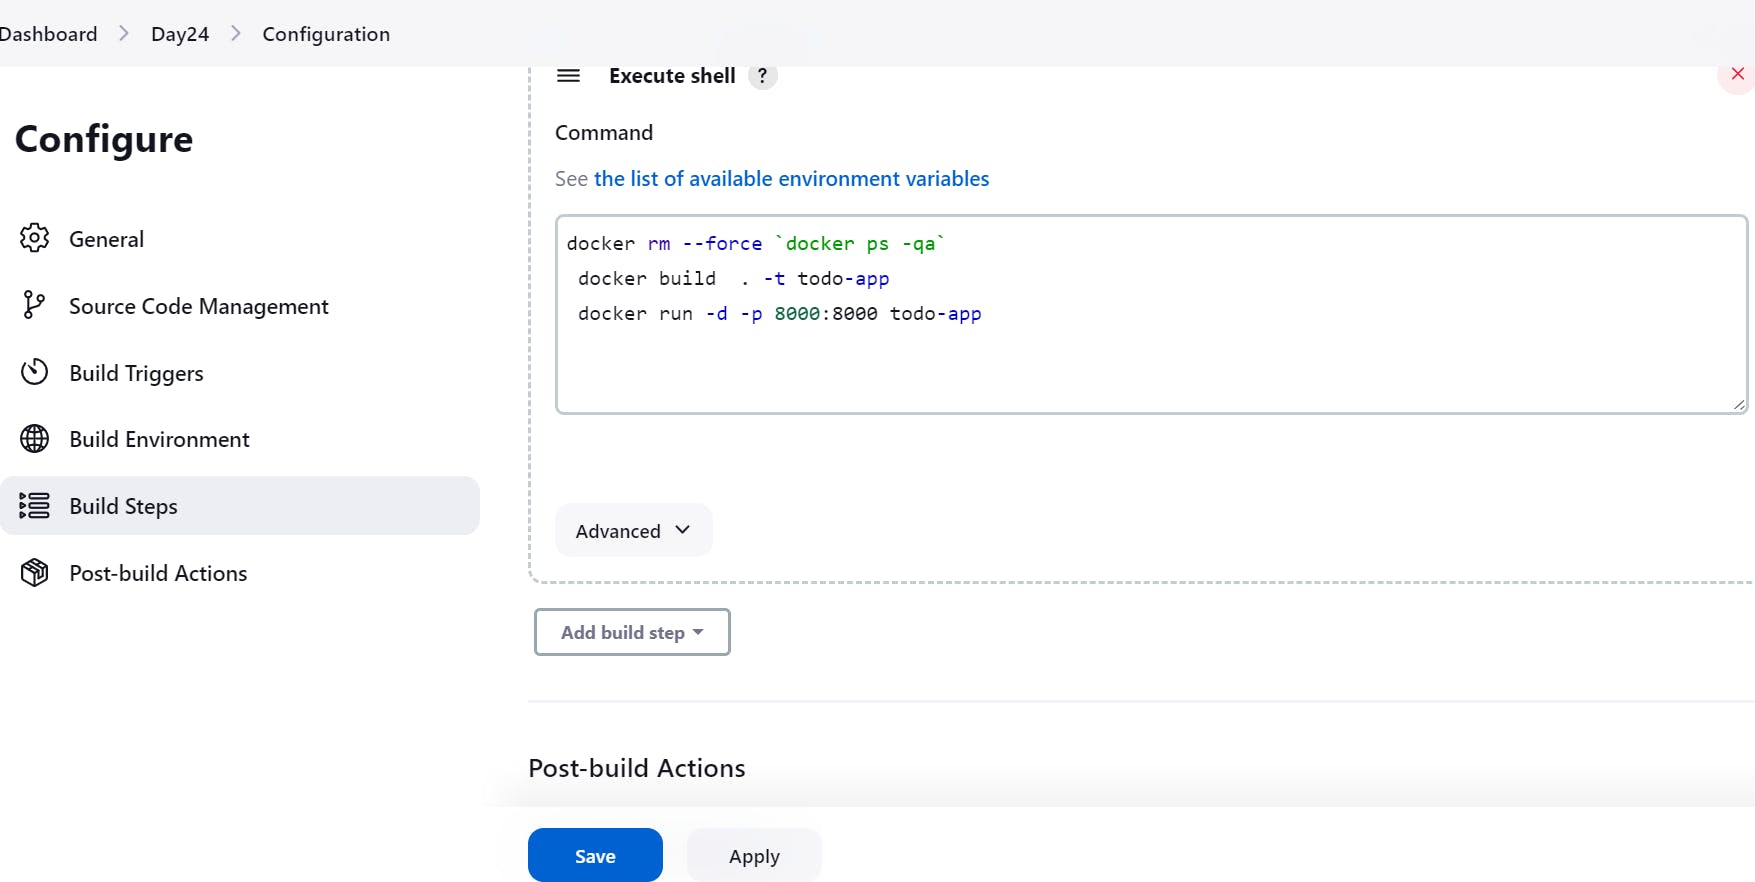
5 .Provide the docker commands to build an image from the docker file and build the container.
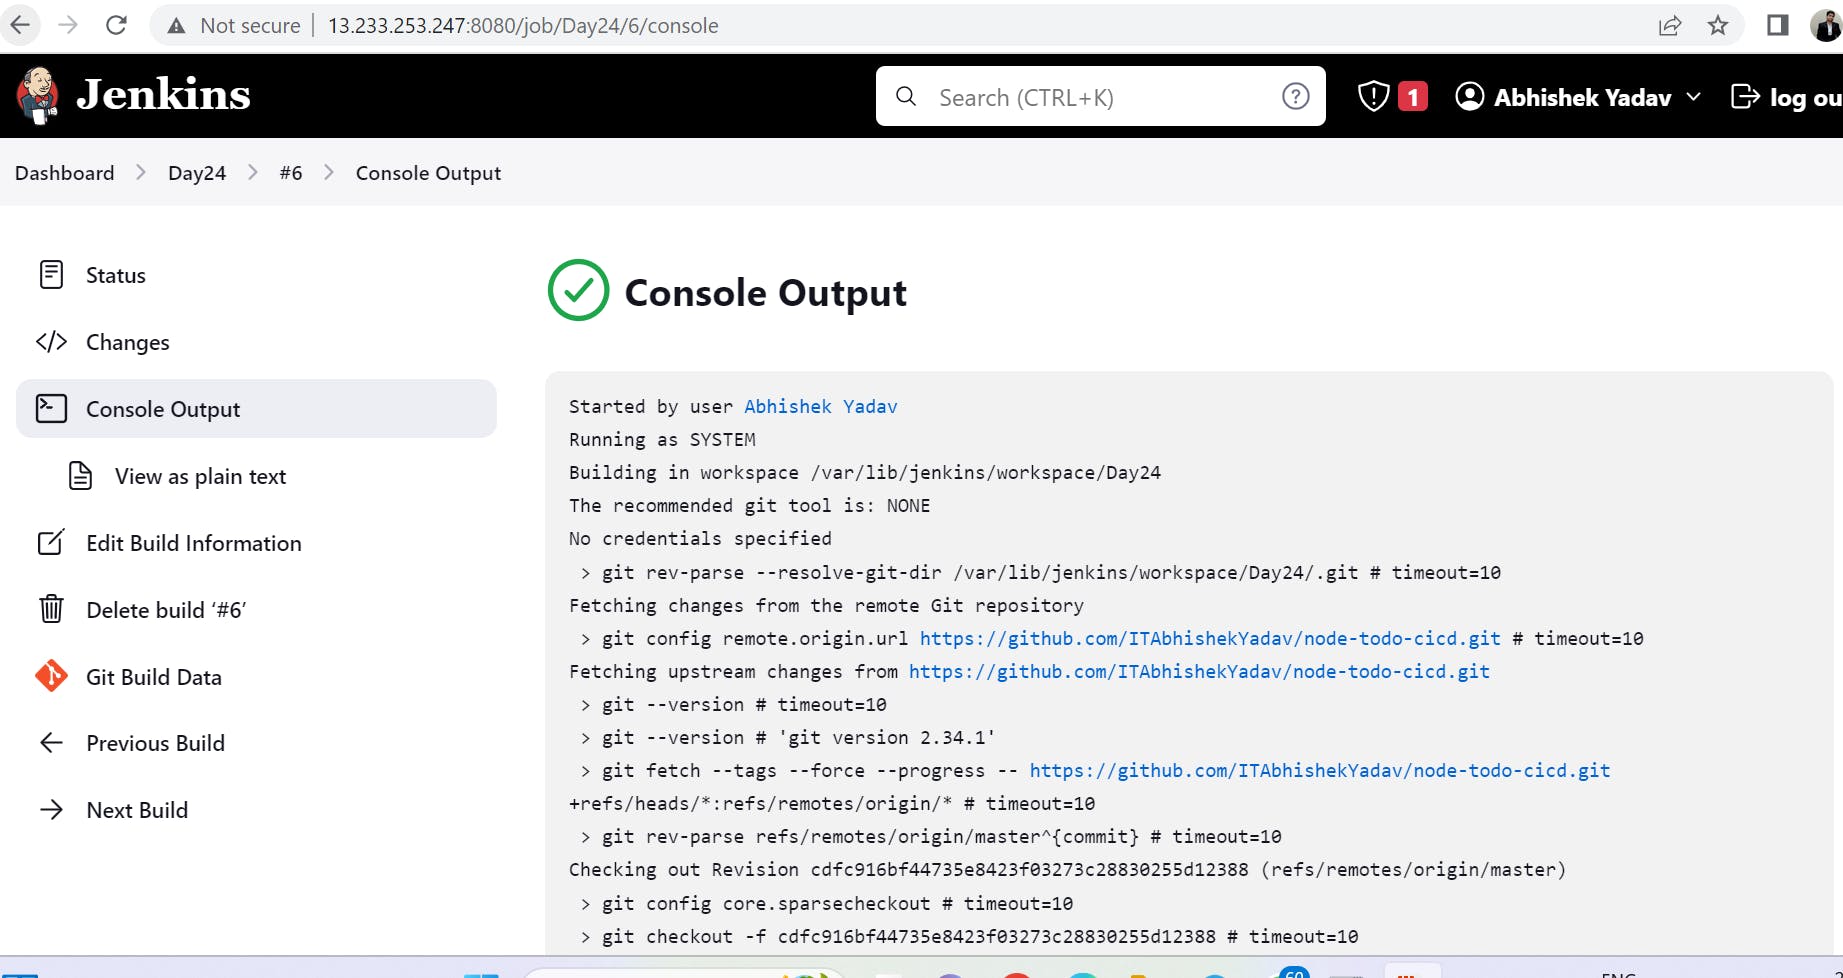
6 . Finally, click on build now to execute the project.
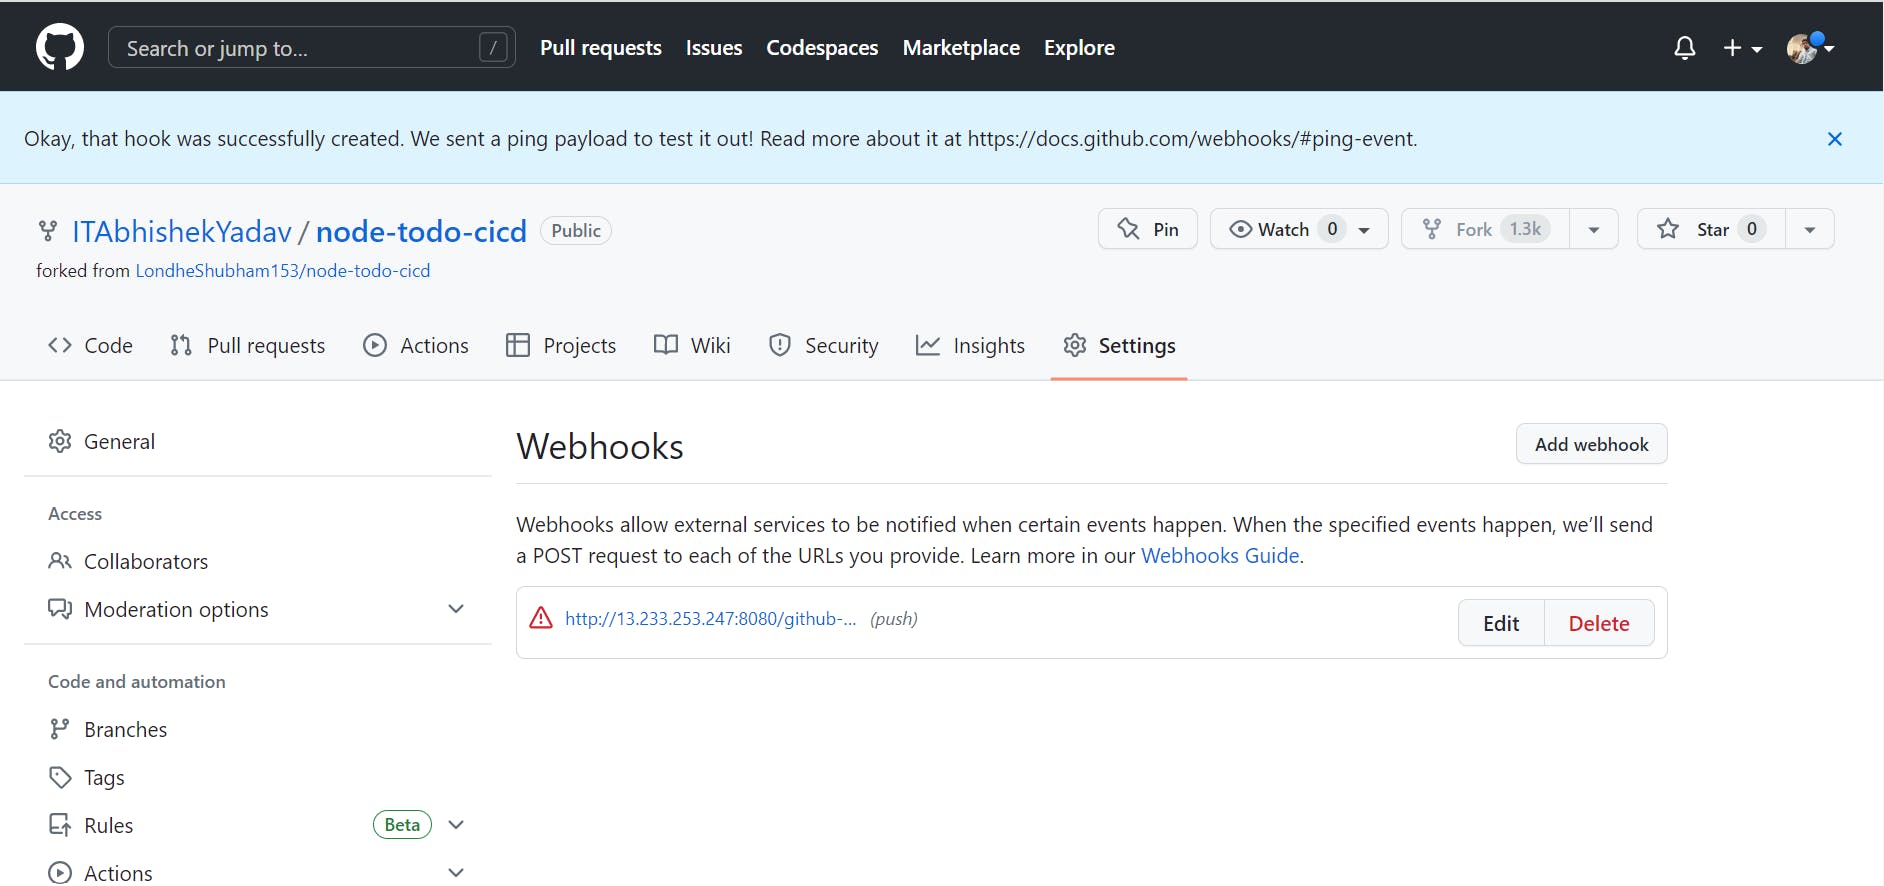
Setting up Webhook:-
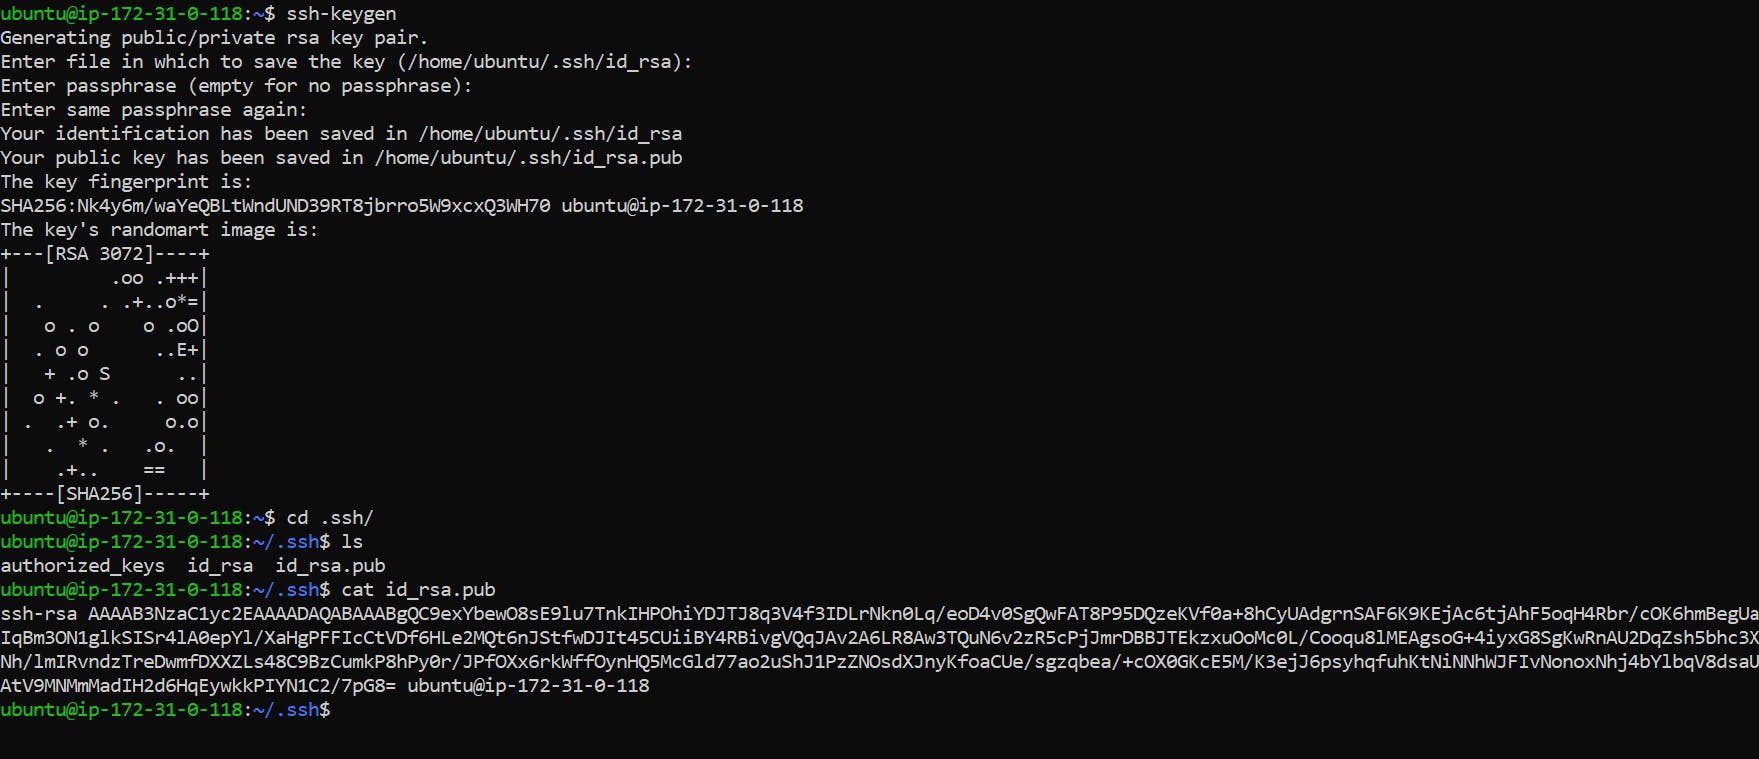
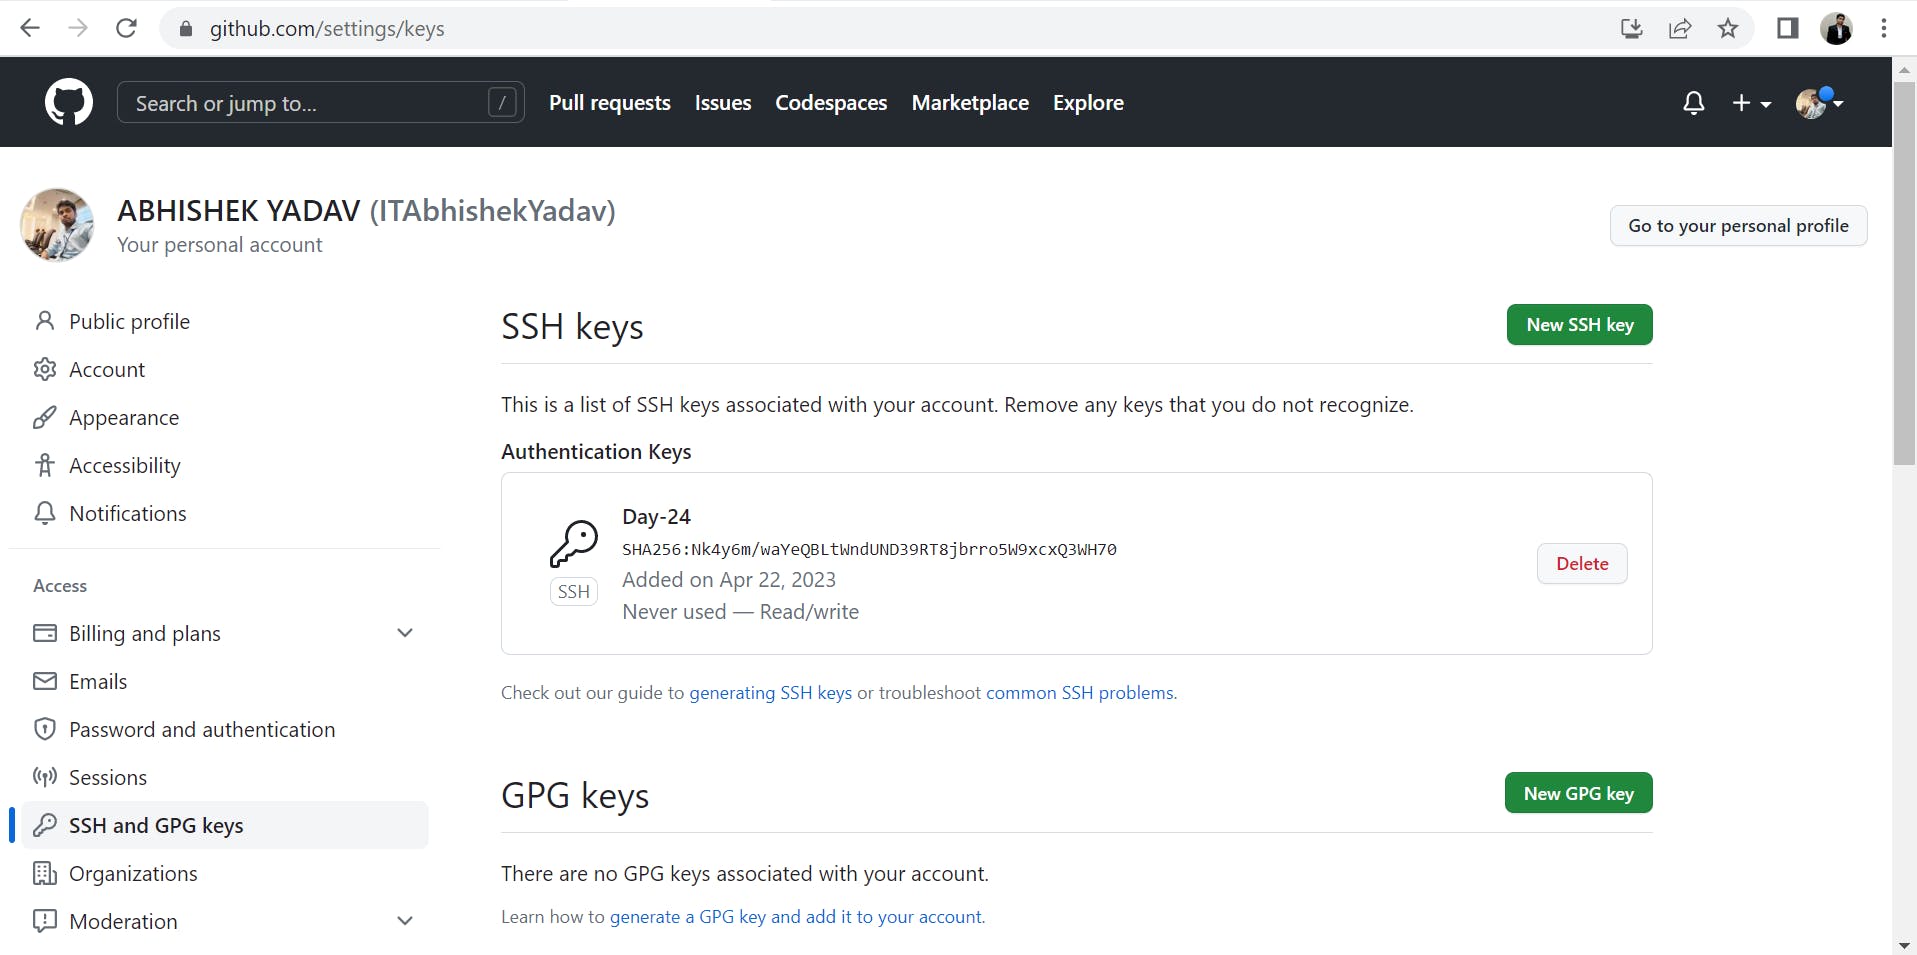
You need to have ssh_key from the server and save it in GitHub.
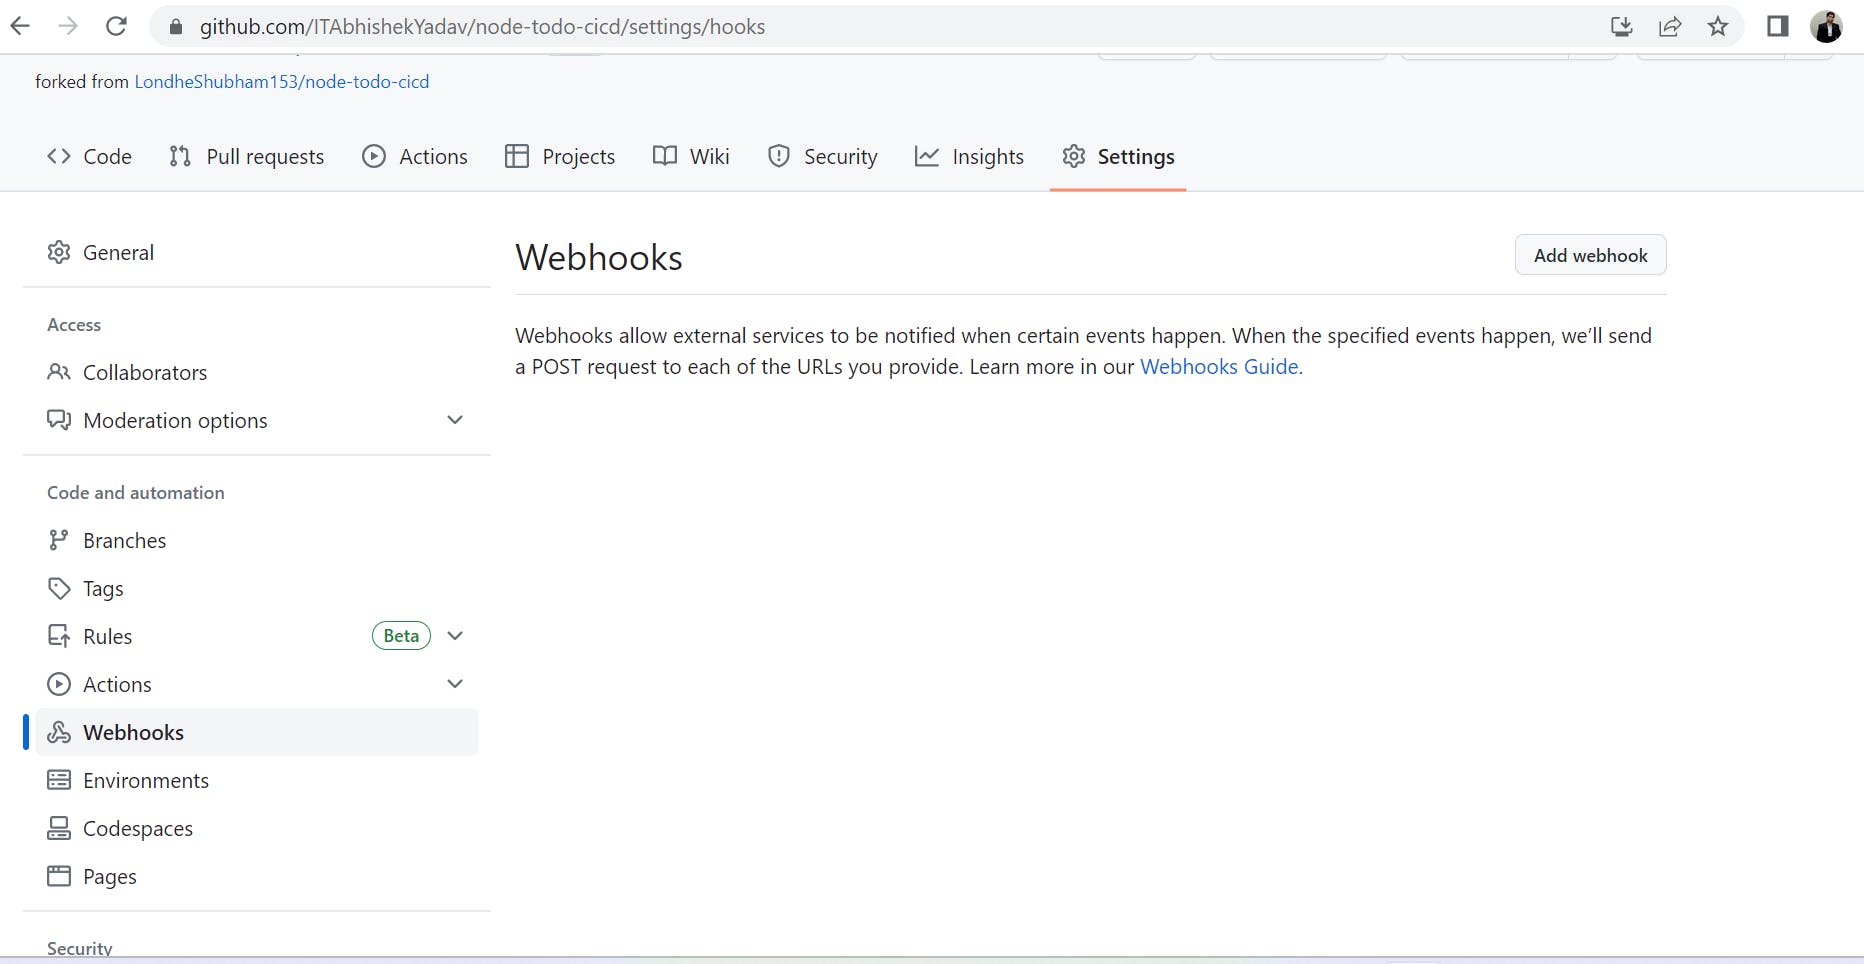
Go to the code repository and navigate to the settings. Then provide the details in Webhook section.
The payload URL is the Jenkins URL.

It should be configured now.
Automating Task-1 through Webhook
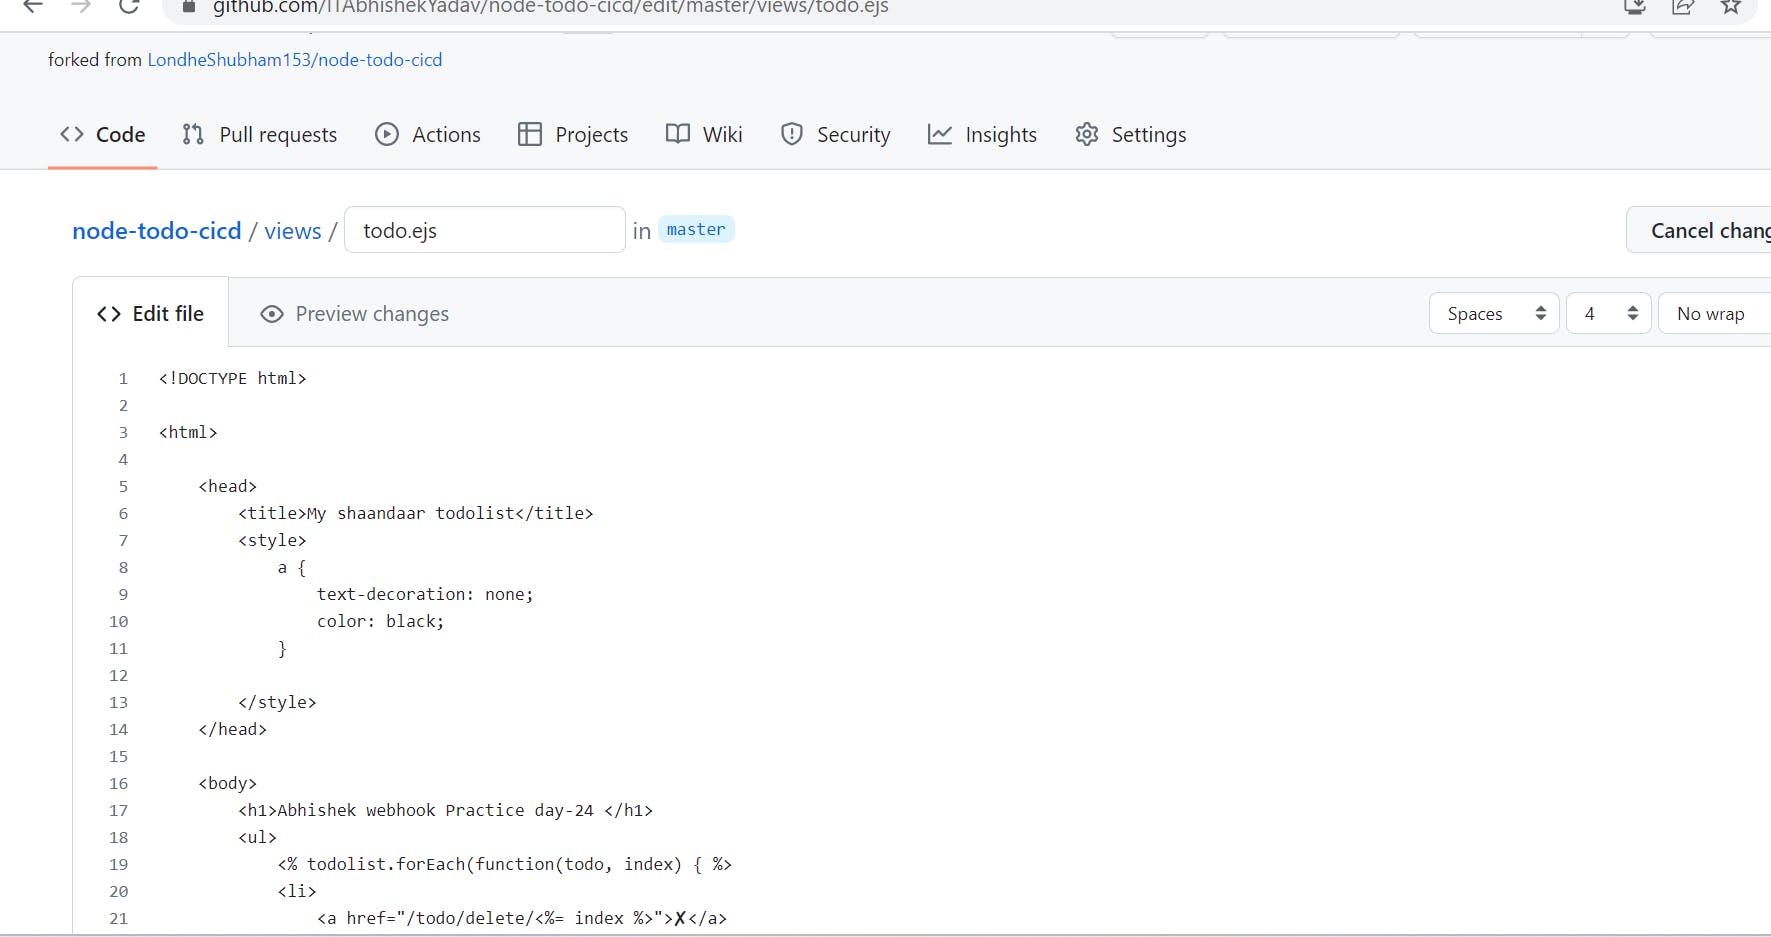
- Make changes to the file in GitHub for the project and commit it.
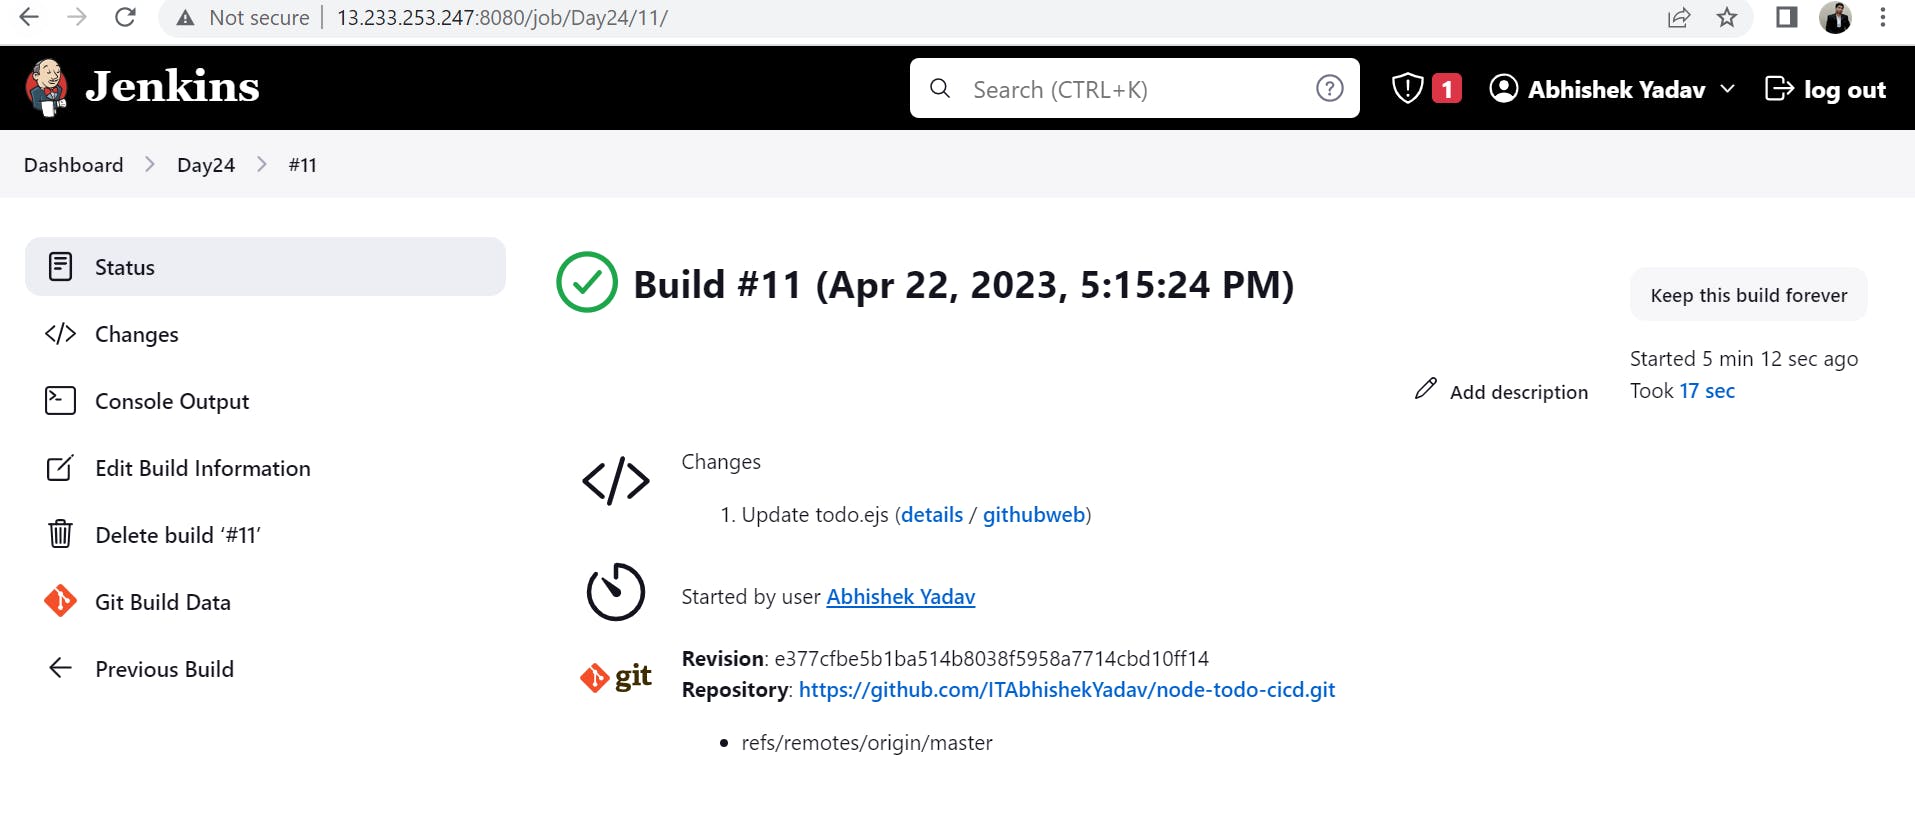
Monitor the build in Jenkins that must have triggered automatically by webhook.
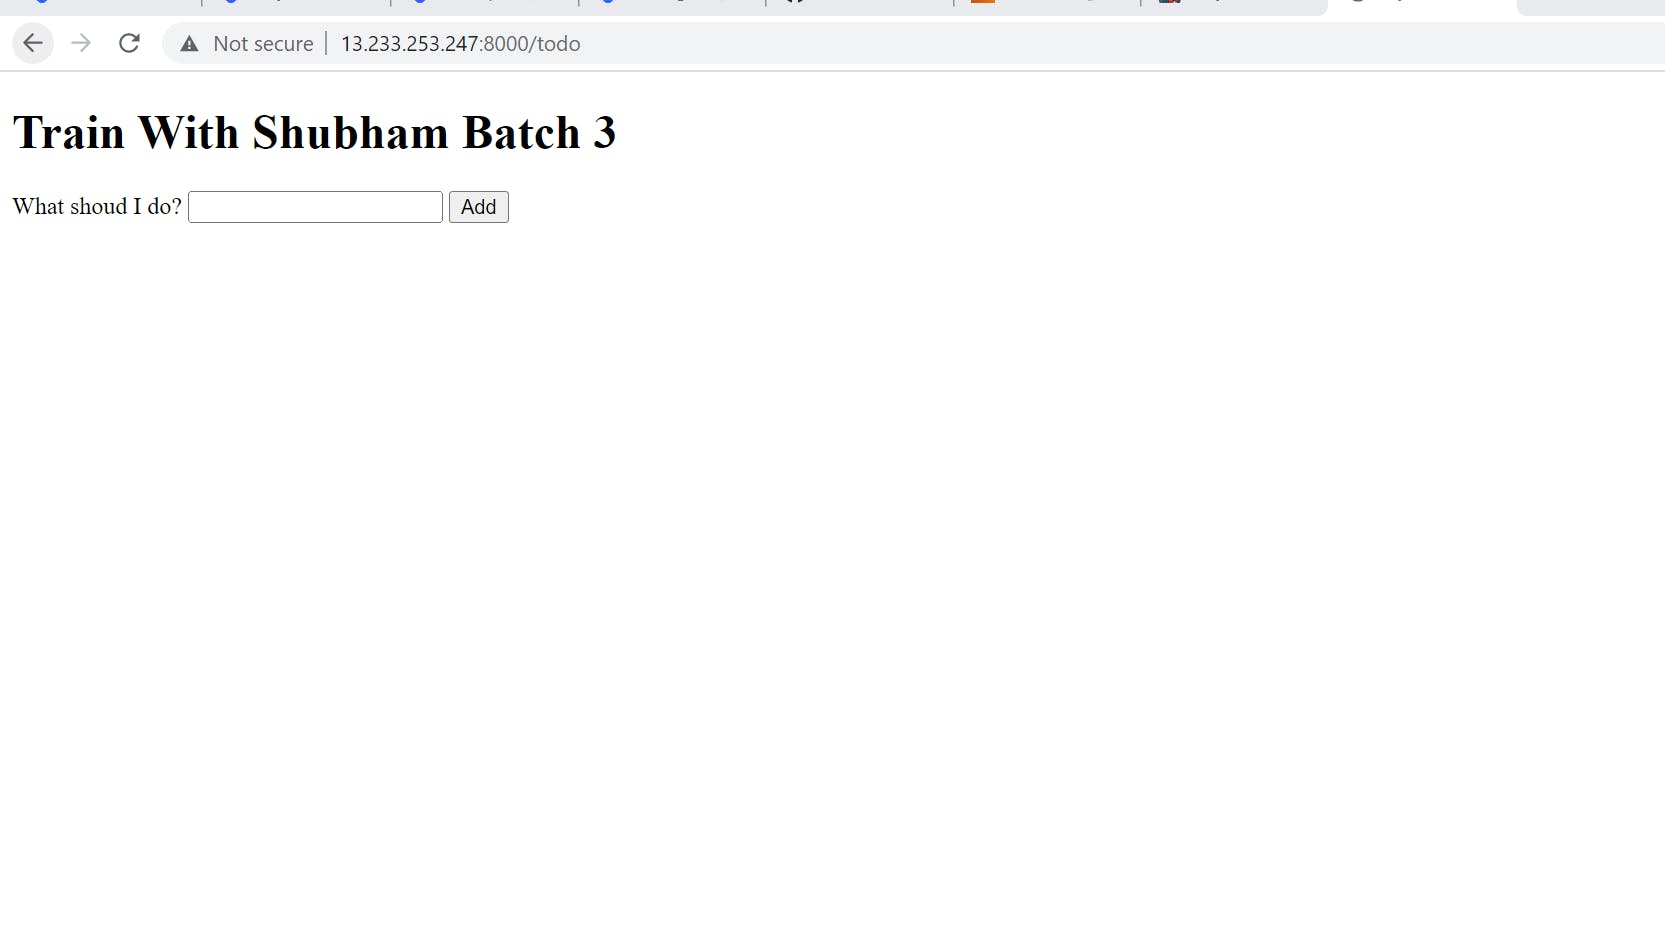
Navigate to the URL to see the changes that you had made in the code in GitHub.